Getting Started with astro-blog
Everything you need to go from zero to a live blog — clone, configure, and deploy in under 15 minutes.
Table of contents
This template gives you a fully-featured MDX blog with a built-in admin panel, syntax highlighting, dark/light mode, and Vercel deployment — all pre-wired. Delete this post when you’re done reading it.
Prerequisites
You’ll need Bun installed (or Node 20+ with npm). That’s it.
Installation
- 1
Clone the repository
git clone https://github.com/your-username/astro-blog.git && cd astro-blog
- 2
Install dependencies
bun install
- 3
Start the dev server
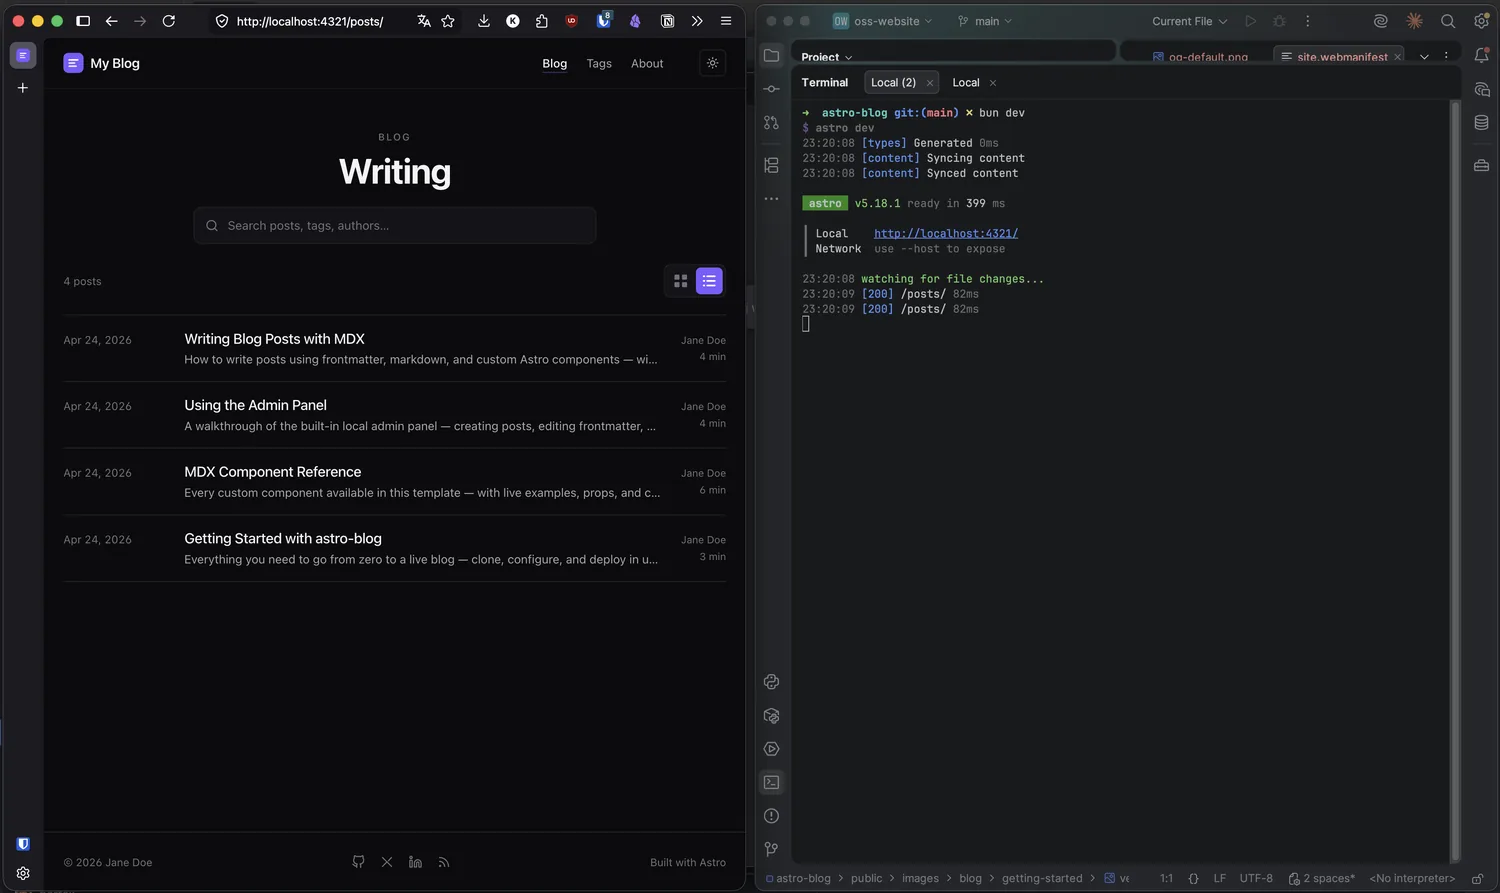
bun run dev — then open http://localhost:4321
Configure your site
All site-wide settings live in a single file. Open src/site.config.ts and update the identity block:
export const SITE = { website: "https://yourdomain.com", title: "Your Blog Name", author: "Your Name", description: "One-line description of your blog.", // ...};- src/
- site.config.ts
- data/
- blog/
- your-posts.mdx
- blog/
- components/
- blog
- public/
- images
- favicon.svg
One file to rule them all
site.config.ts is the only file you need to touch for basic customisation — name, description, nav links, accent colour, and feature flags are all there.
Customise navigation
The nav links are an array in site.config.ts. Each item needs a label and an href:
nav: [ { label: "Blog", href: "/posts/" }, { label: "Tags", href: "/tags/" }, { label: "About", href: "/about/" },],Add, remove, or rename as needed. The About page lives at src/data/pages/about.md — edit it directly.
Light and dark mode
The theme toggle is included by default. You can disable it by setting lightAndDarkMode: false in site.config.ts. The chosen theme is stored in localStorage and persists across visits.
Dark mode
Default. All CSS custom properties are tuned for dark backgrounds with good contrast.
Light mode
Override with data-theme="light" on <html>. The inline script in BaseLayout.astro handles this before first paint.
Deploy to Vercel
- 1
Push to GitHub
git add . && git commit -m 'initial' && git push
- 2
Import on Vercel
Go to vercel.com/new, import your repo, and click Deploy. No configuration needed — the build command and output directory are detected automatically.
- 3
Set your domain
Add a custom domain in Vercel's project settings, then update SITE.website in site.config.ts to match.
You're live
Once deployed, update SITE.website in site.config.ts to your production URL. This is used for the sitemap, OG tags, and canonical URLs.
What’s next
Write your first post
Learn how to write blog posts in MDX — frontmatter fields, markdown, and custom components.
Use the admin panel
Create and edit posts visually without touching the filesystem directly.
Browse all components
See every custom MDX component available in this template with live examples.